Since opting for our Granny flat to be build on piers (We have a sloping block) I needed to know how to dig holes for concrete piers And the answer was:
With a two-man auger, a shovel and a post hole pincer. The motorised auger (I hired for the day) does most of the work. Then I needed the extra tools to widen and square off the holes for the concrete to be poured in.
The two-man auger digs the holes much faster than you could yourself and it only cost around $100 to hire for the day.
The problem is augers only create a round hole. And as per most engineering drawings you will need a square one.
So how do you efficiently dig square holes?
What is a post hole pincer?
DON'T PAY A FORTUNE FOR YOUR GRANNY FLAT. Find out how to deal with council and build a granny flat for the lowest cost possible. Learn More.
And what to do if you’re short on man power?
I answer this and more below…
How Deep to Dig the Footings for Your Granny Flat
The straight forward answer to this question is to consult an engineer.
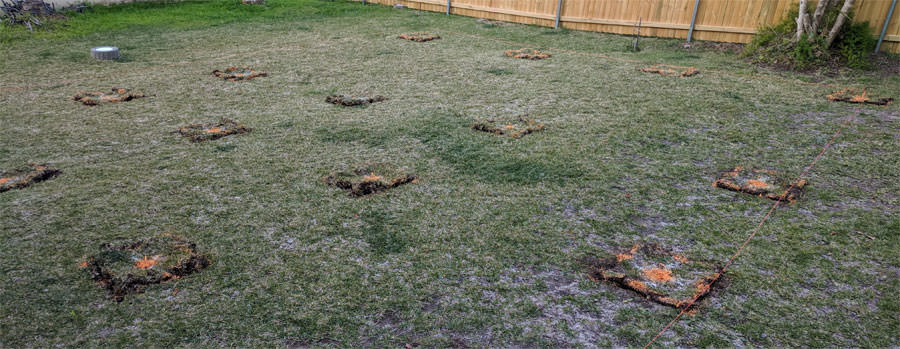
For our granny flat, I needed to dig holes that were 450mm x 450mm wide and 900mm deep.
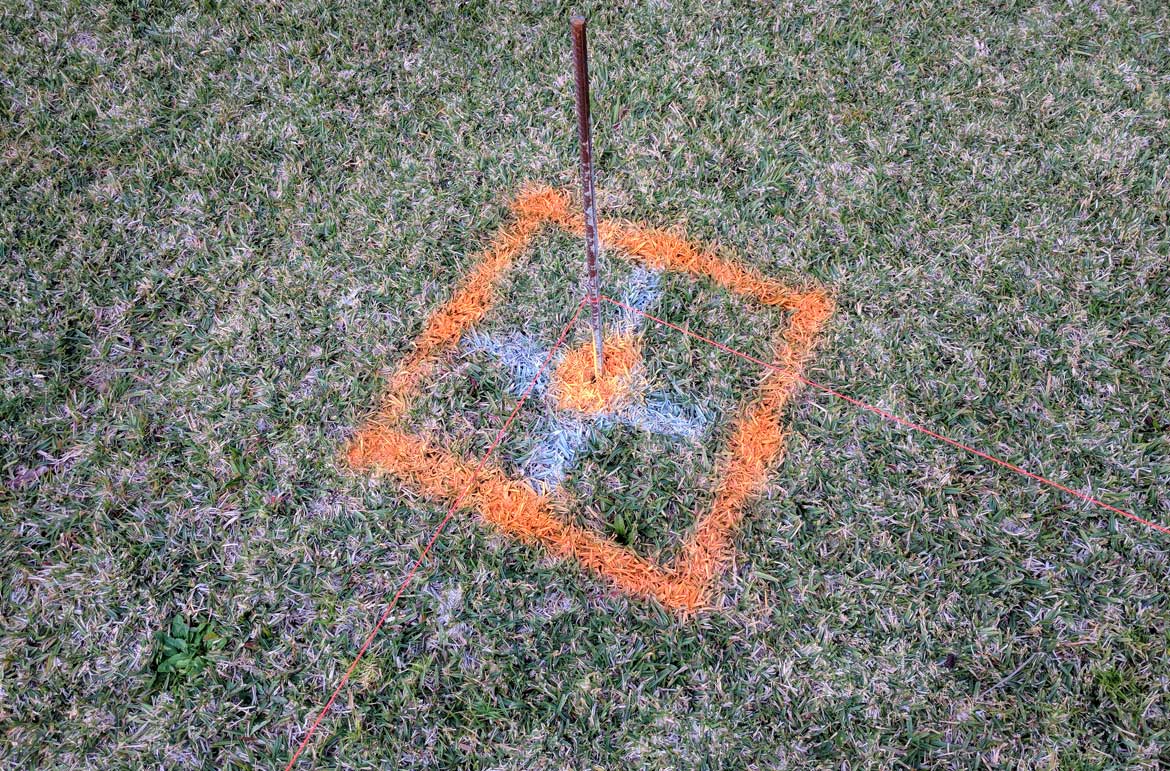
Holes were marked with spray paint
Our granny flat is a 60sqm 2-bedroom design that is basically a rectangular shape.
An engineer came out at a cost of around $800 to dig a couple of holes in the yard and deliver a report for us.
He measured the dirt and needed to find out if we were sitting on bed rock.
We were not, and there was also a little clay underground.
Therefore, our particular report dictated that we would need to dig almost 1 metre deep.
Because this was quite deep for footings, I was not required to buy any reinforcing steel for the hole. Which saved us some money.
Again, the engineering report will let you know about any additions like this.
How Deep do you Dig for a Concrete Slab?
If you are planning to build your granny flat on a concrete slab (like most granny flats are built upon)
Then you still need to dig either a trench for concrete footings or dig a section to create flat ground.
As mentioned before when digging for concrete footings and piers, the depth is dependent on the engineer’s recommendation.
As a guide plan to be digging somewhere around 500mm deep for a concrete trench.
If you need to prepare for a slab with no footings you may not need to dig at all.
In fact, just creating a frame for the concrete to be poured into (above ground) might be enough.
How to Use a Two Man Auger
Augers are expensive pieces of equipment.
Just have a look how much the one I hired would cost to buy:
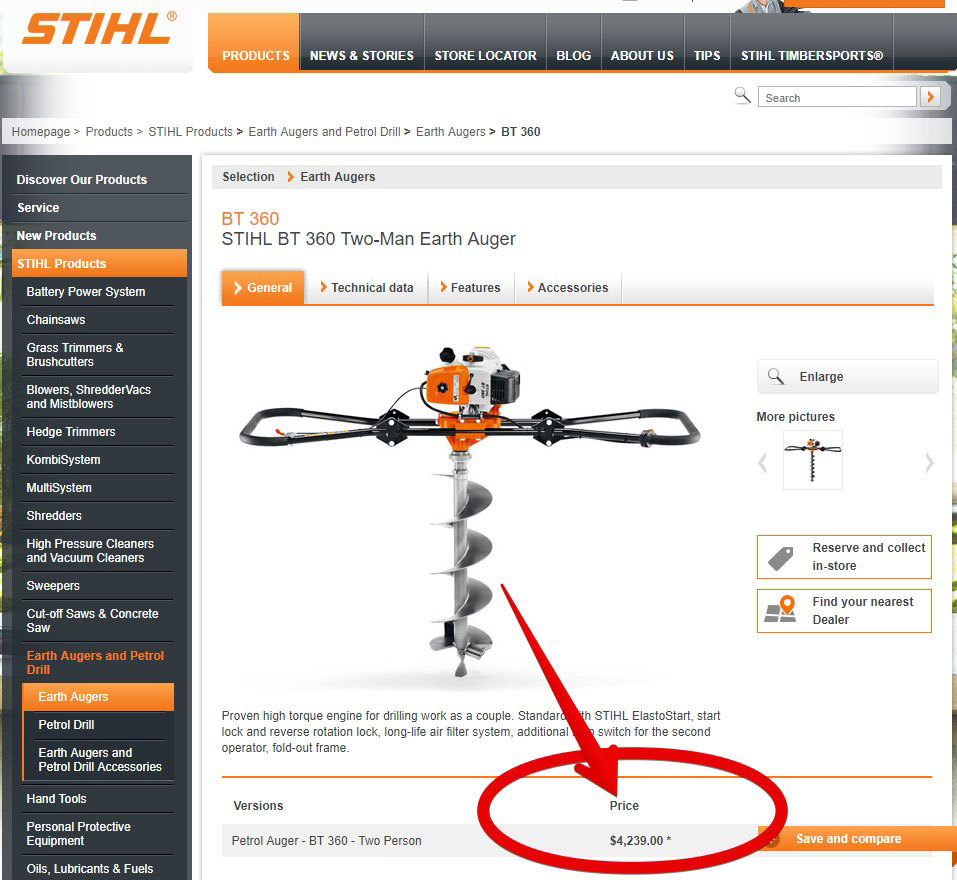
Over $4,000 to buy new
The much cheaper option is to hire for the day.
Be sure to ask for a metal “extension bar”.
Without the bar, it was only good for digging 700mm deep. For an extra few dollars it allowed me to dig to 900mm without any problem.
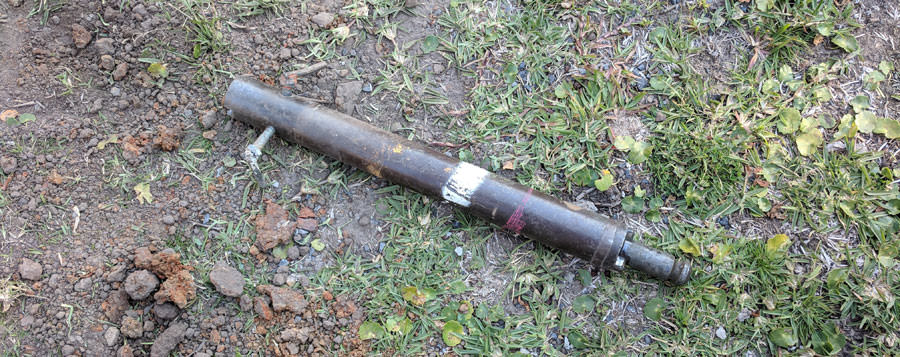
Extension bar allows you to dig deeper
Lastly, you want to ask the hiring centre (such as Kennards) for the widest drilling tool they have.
This refers to the width of the drill itself.
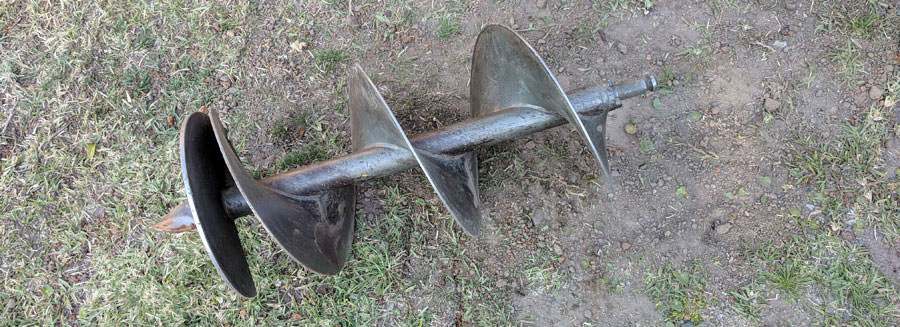
The widest drill bit I could hire
I used the biggest one they had – 350mm. This meant after the drilling was done, there would be a little more manual digging to be done.
How to Use a Two Man Auger
The auger weighs around 30kg without the drill bit and extension tool, so watch your back when lifting it.
Here is a video which shows how it works:
And here are some tips that were passed on to me:
1. Drill into the ground a little bit at a time. (Dirt + the auger weight is a lot to lift up all together)
2. Drill slowly, if you hit a tree root or rock the auger will get stuck and pull you around violently
3. When you pull the auger out of the ground ensure the dirt is cleared off (less weight to carry)
What surprised me about using the auger was the mass. 30kg doesn’t seem like much shared between two people.
However, with the dirt on top it is a lot.
I dug the first hole with my uncle and I felt exhausted. We needed a break after each hole.
How to Square off the Footing Holes
As an owner-builder your inspector will inspect the holes dug for the piers.
This meant (as per our engineering plans) we needed to create 450mm x 450mm square holes.
The auger only being 350mm wide (and round) was a problem.
With a little bit of spray paint I squared off the holes and got to work using a long handle trenching shovel
This was the perfect tool to ‘square off’ everything.
Then I hit another problem.
All the dirt was falling into the hole and reversing our hard work.
Using a regular shovel didn’t work, the hole width was too small so I couldn’t get enough leverage to raise the dirt up.
The easiest method I found was to use a post hole pincer shown below:

Post Hole Pincer
This works like a pair of extended salad tongs.
And is really meant for digging smaller post holes.
However, it did an awesome job of picking up all the dirt after shaving the sides for each pier.
What to do if You Are Short on Man Power?
I needed to have these done before the concrete was due to be poured. I finished 3 myself, however I ran out of time.
My mates were too busy and I left planning this a little too late.
So, I jumped on Airtasker.com and posted this job:
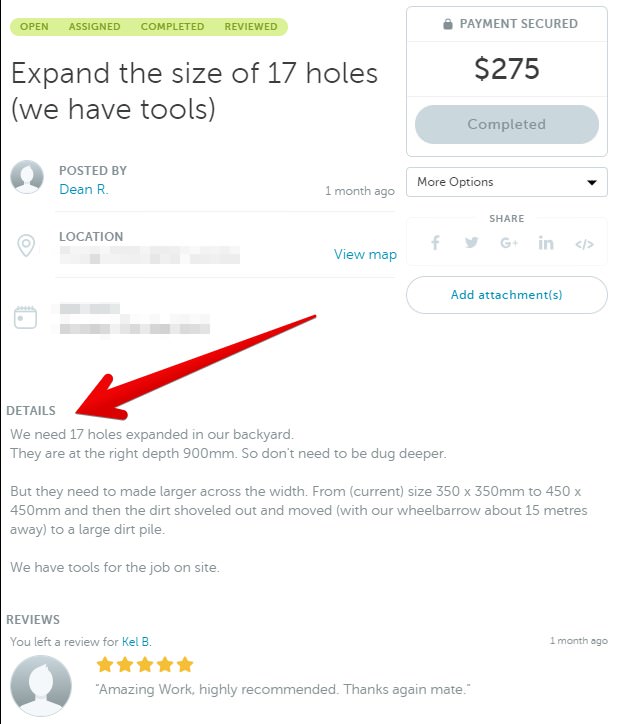
Airtasker Job
As you can see I left Kel from Airtasker a glowing review! It took him just shy of two full days.
I also asked him to move the dirt behind a retaining wall we had built earlier.
Using Airtasker is a great way to have someone do (or help you do) extra work you need done.
In my case (my full-time work) called me away so I didn’t really have an option.
How Much Do Piers for Your Granny Flat Cost?
My uncle is a brick layer so he laid the brick piers for us. I did inquire about the adjustable steel piers, however they were pretty pricey.
I was quoted around $200 for each one. And our granny flat has 20 piers, so that meant around $4,000 in total.
I didn’t want to part with that much money, so brick it was:
Here is the cost breakdown for digging the holes and completing all the piers:
1. Hiring the Auger: $105
2. Post Hole Digger (Pincer): $35
3. Hiring Kel on Airtasker to square off the holes: $275 (you can do this yourself though)
4. Concrete to fill the 20 holes: $1,062
5. Hiring the concrete pump and operator to fill the holes: $450
6. Common bricks (500) of them @$1.35 each: $866 (including delivery of the bricks)
All of these steps cost a total of: $2,793
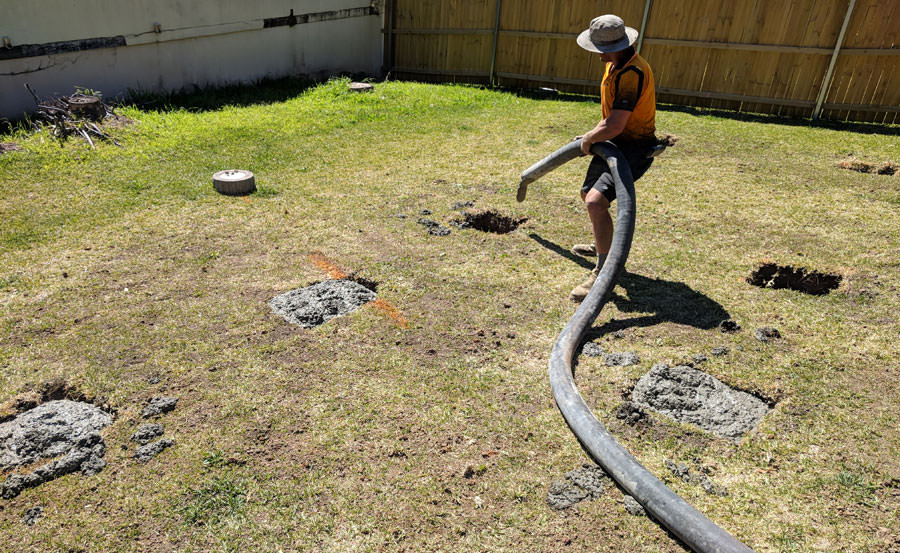
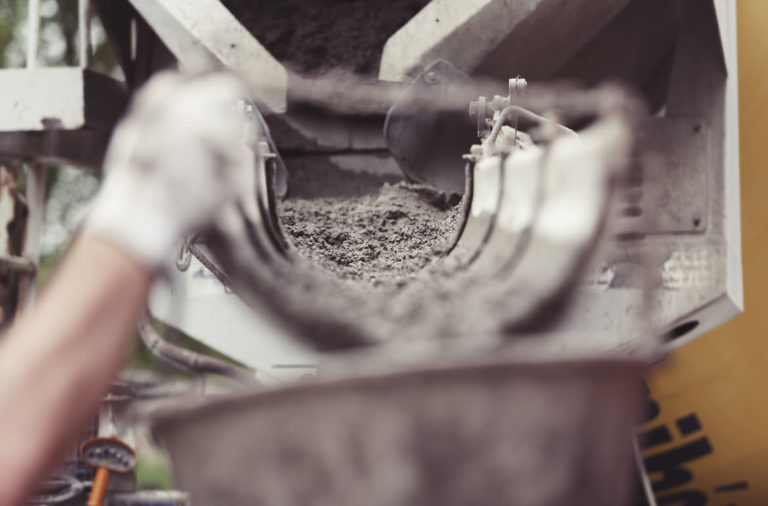
Pouring concrete took less than half an hour
I was very lucky my uncle was a brick layer, so there were no labour costs associated to this.
He did mention that it would be around $300 – $500 a day for a brick layer. And it took him over two days to do.
Sometimes brick layers change on the number of bricks that they will lay instead of an hourly rate.
Due to this, it is always worth getting a few quotes before committing to any one person.
Here are some answers to common questions people have asked me:
Can you pour concrete straight on dirt?
The answer is yes, not a problem.
Concrete, whether for a slab or used to hold vertical piers up can be laid right over the dirt. You don’t need to line walls or cavities with plastic.
How Long Does Concrete Take To Dry?
The answer is: Technically concrete never dries. It just hardens to a certain level and stays at that level forever. It is a porous substance, which means it is constantly gaining and losing water during its lifetime.
There are different strengths of concrete which dry faster. This strength is rated by the (MPa) or megapascal of a particular mixture.
The concrete I used for our footings was 25Mpa, which meant that in 28 days from the day it was poured it would have a strength of 25Mpa.
You can spend more money if you need the concrete to cure faster and purchase a higher MPa rated concrete.
For example, Hymix the concrete supplier I purchased the concrete from asked if I wanted 45Mpa.
In the example above, the concrete would be rated as 45Mpa in 28 days from when it was poured.
And this means it would have reached 25Mpa, well before 28 days.
In all honesty, you don’t really need this higher strength of concrete.
Higher rated MPa concretes are mostly used for suspended slabs on apartment buildings.
Where time is money and they need to build extra levels as quickly as possible.
Conclusion:
To dig holes for concrete piers or foundation trenches be sure to use the right tools.
With a motorised auger I was able (with another person to help) dig most of our 20 holes in a day.
Then squaring off the holes could only be done with a little manual labour.
We simply didn’t have the room for a small digger to come into our back yard.
The process was pretty straight forward as mentioned above and now we are ready for the frame!
If you don’t have time or you need a hand with a two man auger then Airtasker will help.
It works Australia wide and another option might be to post an ad on Gumtree. If you need to speed things up.


